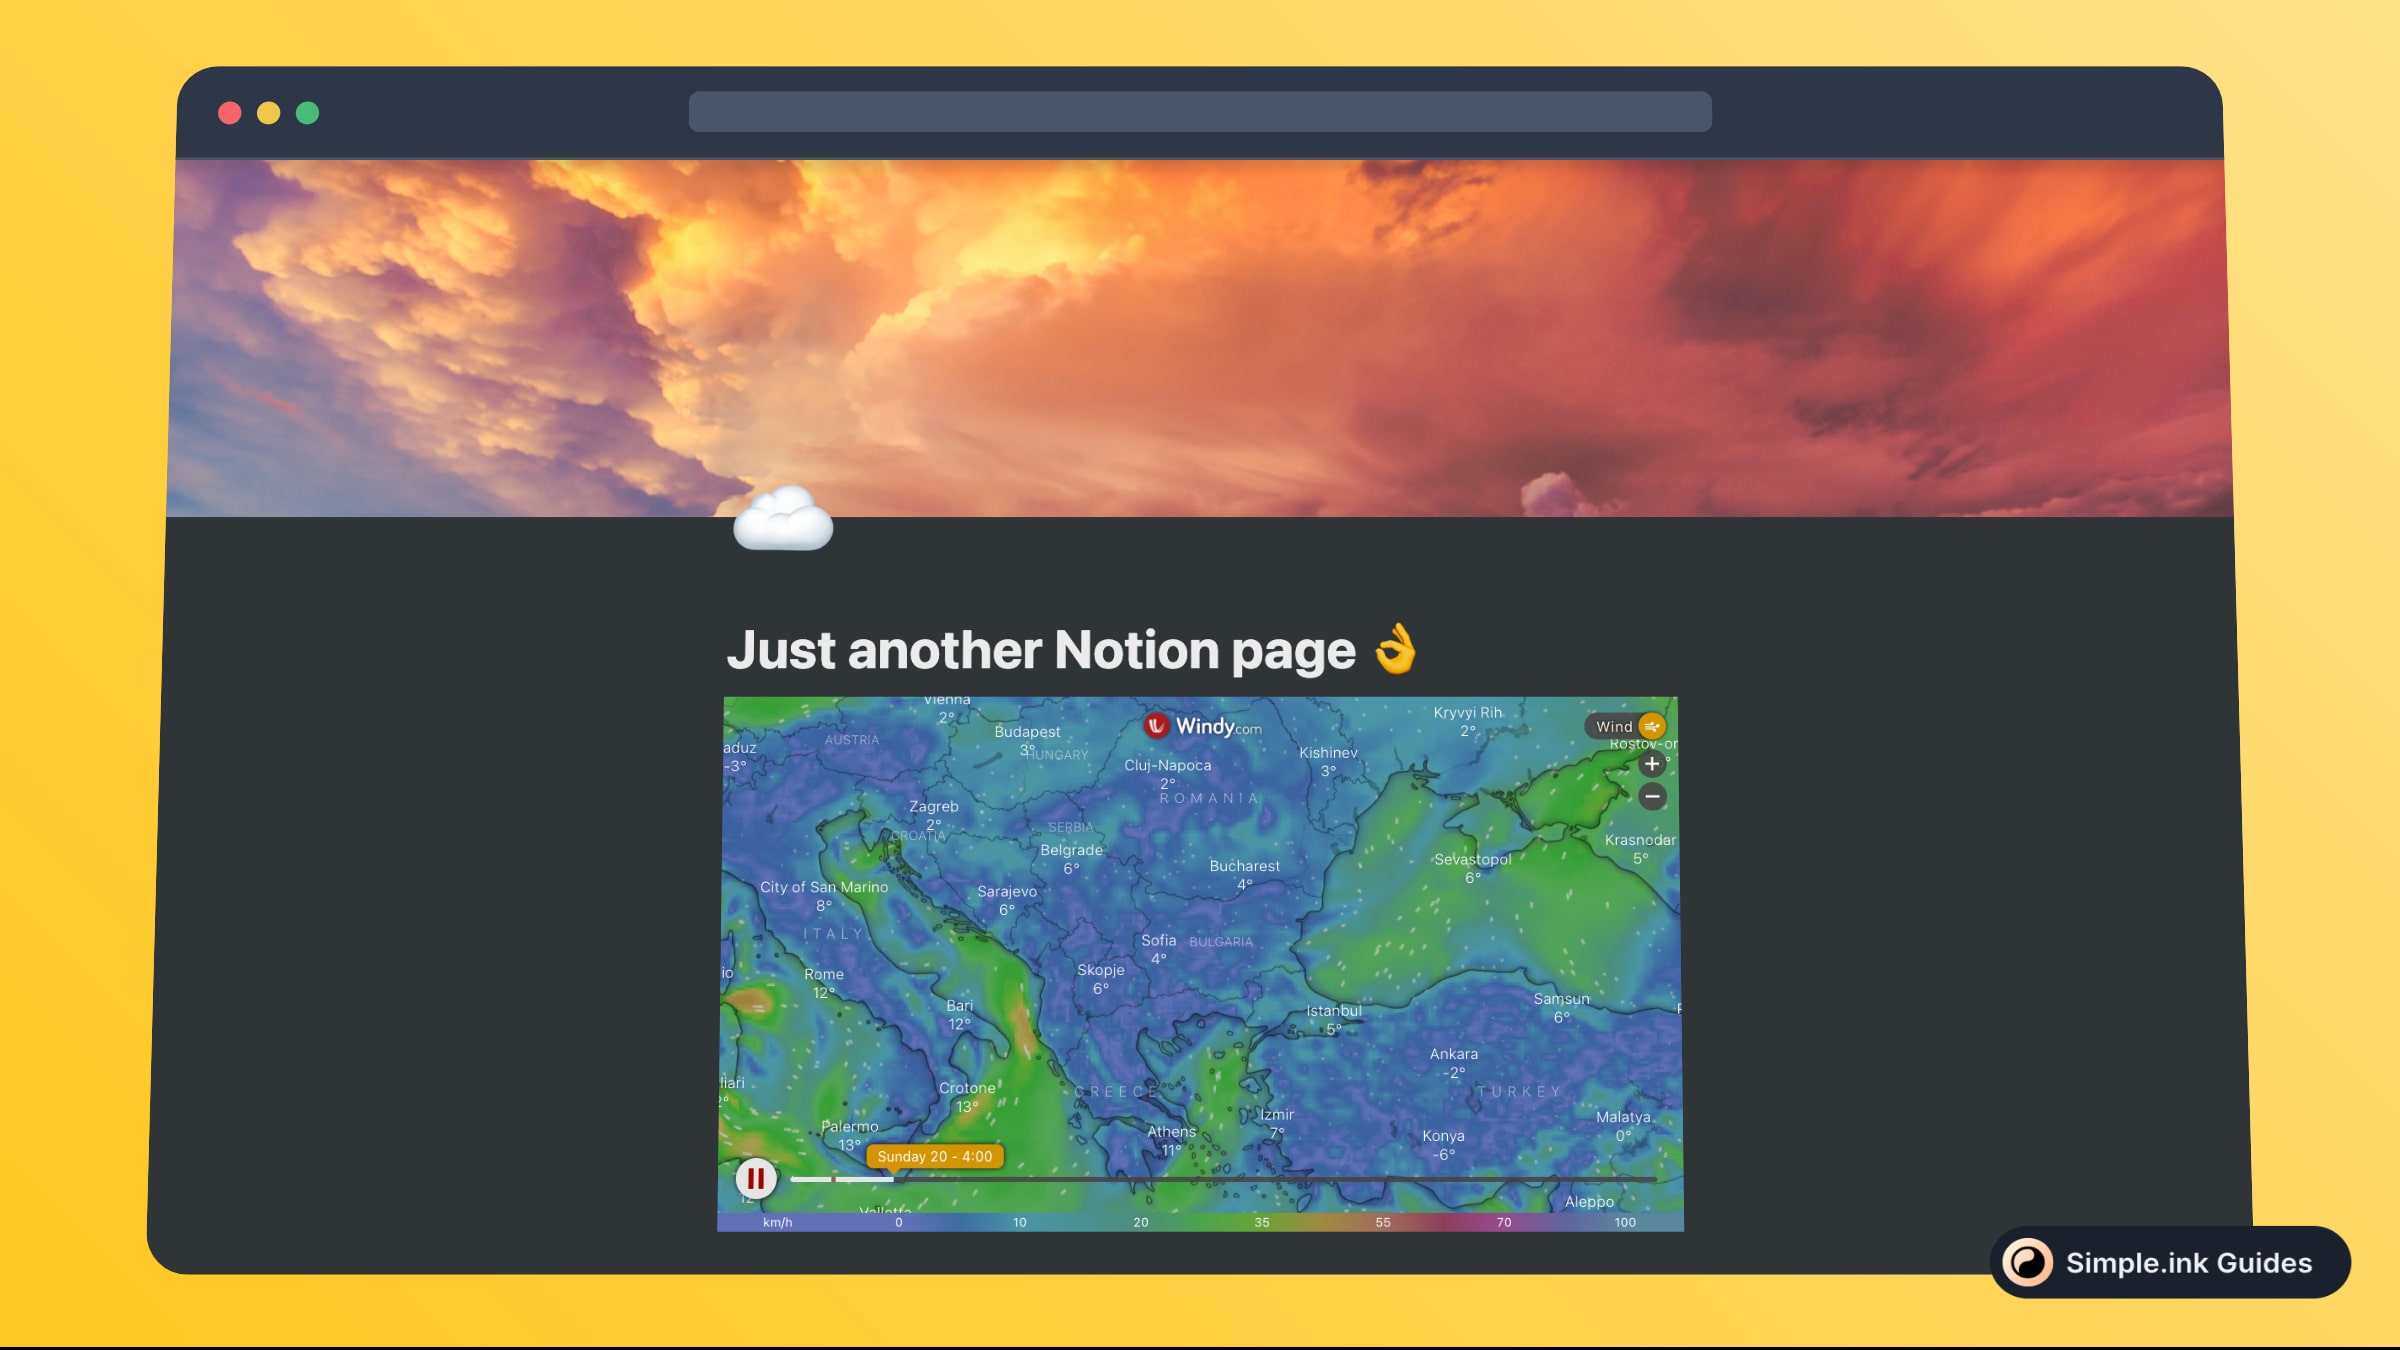
How to embed the Windy widget to Notion
Weather widget: let's check out the forecast!
How to embed Windy.com widgets in Notion
If you’re curious about the forecast around your place, you simply have to customise your forecast widget on Windy, copy its code and paste it inside an Embed block in Notion. That’s it!
If you’re not 100% sure how you can do that, we’re now going to show you how to add Windy in Notion, step-by-step. Let’s proceed!
1. Design your widget and copy its code
First things first, go to the Windy widget page and start customising your widget. After getting the result that you like for your Windy widget, make sure to copy its code.

At the bottom of the widget’s preview, you should be able to see this HTML code. That’s the code that we’ve been talking about, and the one that you have to copy to your clipboard.
2. Make an Embed block
Up next, you want to make an Embed block in Notion. In order to do so, you first need to go to the Notion.so page where you want to embed the Windy widget.

Once you’re on that page, simply type “/embed” and select the “Embed” block from the dropdown list.
3. Add Windy’s forecast widget in Notion
For the third and the last step of the guide, you simply have to add the Windy HTML code inside the Embed block.

Once you’ve pasted the code, remember to also hit the “Embed link” button. This way, all of your changes will take place.
Upon clicking that blue button, you may have to wait a couple of seconds for the embed to load. Then, your Windy.com widget’s preview should be looking similar to this:

Congrats! You’ve finished adding Windy’s forecast widget in Notion. It looks pretty clean, doesn’t it?
What is Windy
Would you like to see the current weather and forecast in your Notion.so pages? There is a simple way to add such a widget in Notion.
Windy.com’s weather and forecast widget is your best friend when it comes to deeply analysing the weather and forecast around your place.
Just by reading this tutorial, you are going to easily know how to embed a Windy.com widget in your Notion websites or pages.
Pricing for Windy
Questions & Answers about Windy
All Questions
No Questions yet
Windy Reviews
All Reviews
No review yet
